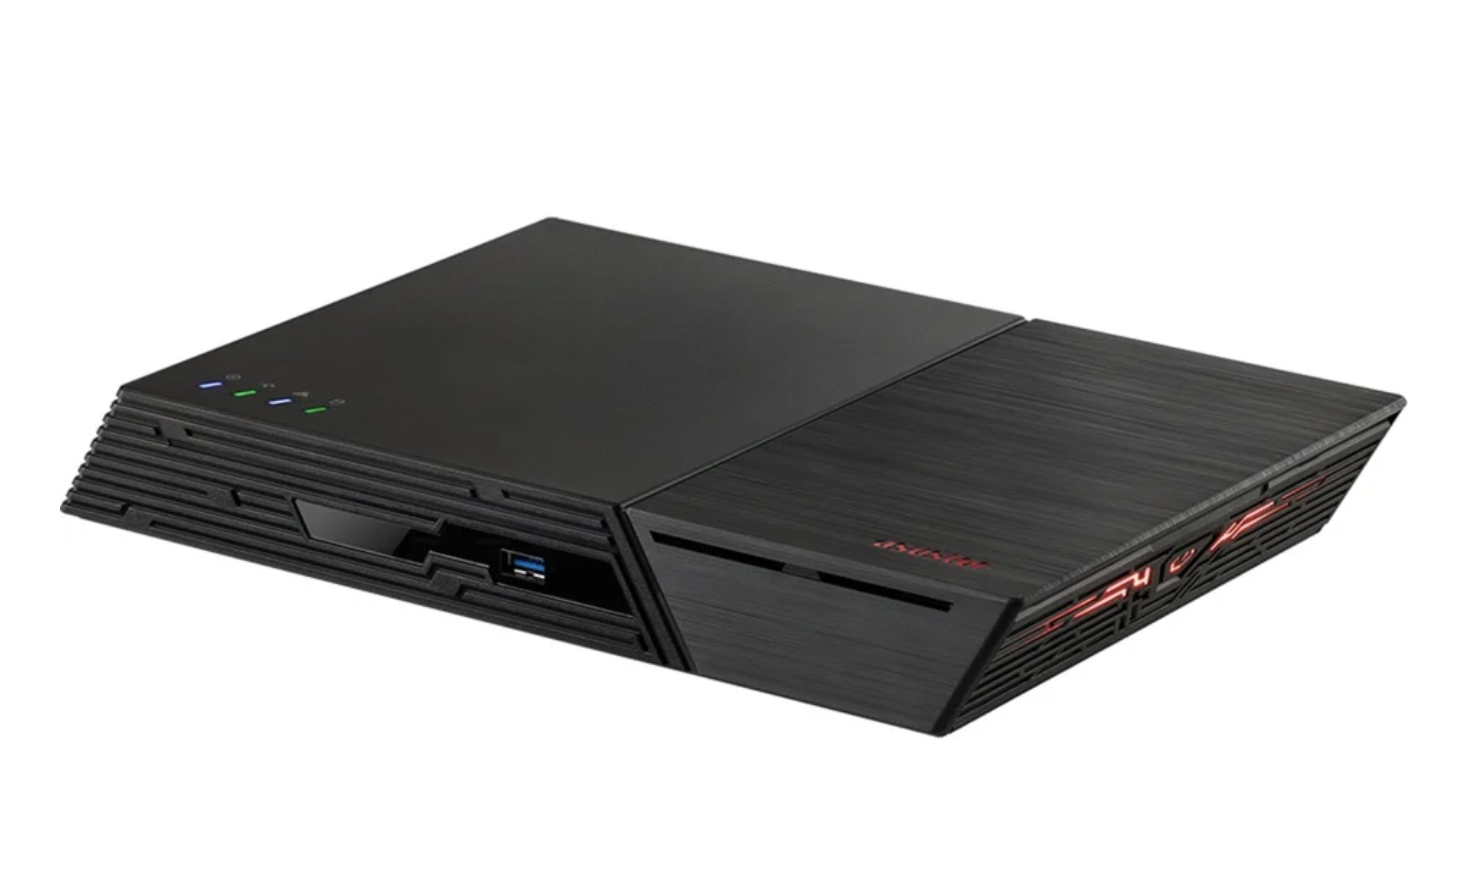
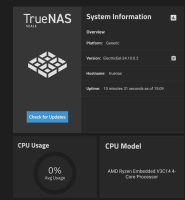
Asustor Flashstor Gen 2 — FS6812x/FS6806x — Debian Support and AMD XGMAC 10 GbE NICs — Full Kernel Compile

I will detail below the steps necessary for recompiling the AMD-provided kernel and updating the device, and also create pre-compiled .deb packages for testing.
Note: These instructions are not necessary for getting the AMD XGMAC 10 GbE NIC running on the Asustor Flashstor Gen 2 devices, it is enough to compile just the amd-xgbe module as described here. I'm only keeping them here for archival and reference purposes, or in case full kernel compilation is needed or desired.
Warning: Installing a custom OS and replacing the kernel can render your device inoperable and failing to come online. Only proceed if you know what you're doing and are willing to debug and fix problems as they appear. I will not be responsible for any harm coming to your device, bricking it or loss of data!
That being said, as long as you don't mess with the "Asustor Data Master" (ADM) partition on the on-board USB/eMMC (and you shouldn't!), there will always be a way to remove all external drives and boot into that for recovery.
Debian Support for AMD XGMAC 10GbE NICs — HOWTO
I. Preparations
- Set up virtualisation on your regular machine, I used KVM with
virt-manager - Download a Debian image to work with, I used the local cloud image
- Configure and run the VM, then start it to test functionality
- Make sure to give it plenty of vCPUs and enough RAM, since compilation thrives on CPUs and parallelisation
- Install packages as needed to make the VM usable, as it's pretty bare-bones; a few I'd use are
procps,htop,screen,mc,xterm(for theresizetool), etc.
- Resize the
qcow2virtual disk and partition inside to allow sufficient space for compiling the kernel — you'll need at least 5GiB for the sources, plus another 5GiB or so for the AMD package; 20GiB total should be enough - Download the AMD Drivers (you'll need to use a full browser, as they very unhelpfully block
wget/curland force you to actually browse there) - Copy the AMD package into the VM — easiest is to
scpit from the host, you'll need to installopenssh-clientfirst - Boot into the VM
Note: I'm only providing high-level instructions here for brevity, since this can be done in any virtualisation package, on any host OS — as long as the image is a Debian 12 image it won't really matter. If you would like exact details, please leave a comment below and I'll make sure to provide more information.
II. Inside the VM
- Unpack the AMD driver file:
# cd /usr/src # tar xvf AMD_Ubuntu-24.04_Kernel_6.6.43_2024_30_GA_15.tar.bz2- There is ample documentation as PDFs in the "docs" directory, check that out for further details
- Go into the package and prepare the build:
# cd AMD_Ubuntu-24.04_Kernel_6.6.43_2024_30_GA_15/build_scripts # chmod +x rbh.sh # ./rbh.sh --prep kernel_source 2>&1 | tee prep_kernel.log- This will take a while, the script automatically installs a lot of packages (that's one of the reasons we're doing this in a VM, it would mess up your normal system otherwise)
- Check for any errors in the log file, there shouldn't be any
- Build the kernel
# ./rbh.sh --build kernel_source 2>&1 | tee build_kernel.log- Check for errors in the log file and correct them if needed, there shouldn't be any
- Depending on the computing power of your VM & host, this will take a while... get comfortable
- Note that it should be possible to skip this step if we can extract just the relevant patches and changes the scripts do to the vanilla kernel, but I'm still working on that
- There are a bunch of extra files and scripts here for the graphics drivers and libraries, they can all be ignored
- When the compilation ends, the script will "helpfully" install the kernel for you and update GRUB, which can mess up the VM; so, before proceeding, get rid of it:
# apt purge linux-image-6.6.43-amd
- Copy over the patched linux sources and rename them:
# cd /usr/src/
# cp -rav AMD_Ubuntu-24.04_Kernel_6.6.43_2024_30_GA_15/sources/linux-stable_emb/ .
# mv linux-stable_emb linux-source-6.6.43-asustor
- Get the Debian kernel sources — I used the 6.11.5 one from backports, since it's the newest available, rather than the stable 6.1.119 which is older than the AMD version:
# apt install linux-source-6.11
- Copy over the config and prepare the build:
# cd linux-source-6.6.43-asustor/
# xz -dc ../linux-config-6.11/config.amd64_none_amd64.xz > .config
# make oldconfig
-- press "Enter" to select the default answer to all questions
# scripts/config --disable DEBUG_INFO
# scripts/config --disable DEBUG_INFO_DWARF_TOOLCHAIN_DEFAULT
- Build the new kernel, creating Debian packages for easy install:
# make prepare
# make modules_prepare
# make -j`nproc` bindeb-pkg EXTRAVERSION=asustor
- This should create three
.debpackages in/usr/src:# ls /usr/src/*.deb /usr/src/linux-headers-6.6.43asustor_6.6.43asustor-2_amd64.deb /usr/src/linux-image-6.6.43asustor_6.6.43asustor-2_amd64.deb /usr/src/linux-libc-dev_6.6.43asustor-2_amd64.deb- The "image" one is the most important, the others useful to have (for e.g. compiling other modules)
- Copy them over to the Flashstor NAS in whichever way is more convenient (
ssh/scp, USB stick, etc.)
- Note: The AMD driver installation scripts also copy a lot of firmware files over to
/lib/firmware, overwriting files already present there. I tested with and without those changes, and could not see a difference — they appear to be mainly for GPU support. But if you cannot get the NICs working at all, try copying over the/lib/firmwarefiles from the VM as well, it may be worth a try
III. On the Flashstor NAS
- SSH into the NAS, go to where you copied the packages and install them:
# apt install ./*.deb- This will add the new kernel at the top of GRUB as well, so a reboot should boot straight into it
- It will also recompile any DKMS modules you have installed (in my case, ZFS for example)
- Check that you have all the right files in
/bootand/lib:# ls /boot/*asustor* /boot/config-6.6.43asustor /boot/initrd.img-6.6.43asustor /boot/System.map-6.6.43asustor /boot/vmlinuz-6.6.43asustor # ls /lib/modules | grep asustor 6.6.43asustor
- Reboot (fingers crossed!) and validate that you are indeed in the right kernel:
# uname -r
6.6.43asustor
- Check the logs:
# dmesg | grep xgbe [ 1.080344] amd-xgbe 0000:ea:00.2: enabling device (0000 -> 0002) [ 1.082434] xgbe_get_all_hw_features pps_out_num 2 aux_snap_num 2 [ 1.085123] amd-xgbe 0000:ea:00.2 eth0: net device enabled [ 1.086820] amd-xgbe 0000:ea:00.3: enabling device (0000 -> 0002) [ 1.088565] xgbe_get_all_hw_features pps_out_num 2 aux_snap_num 2 [ 1.091042] amd-xgbe 0000:ea:00.3 eth1: net device enabled [ 1.143111] amd-xgbe 0000:ea:00.2 lan1: renamed from eth0 [ 1.228931] amd-xgbe 0000:ea:00.3 enp234s0f3: renamed from eth1 [ 103.917320] amd-xgbe 0000:ea:00.2 lan1: Link is Up - 10Gbps/Full - flow control off [ 107.638354] amd-xgbe 0000:ea:00.2 lan1: Link is Down [ 113.805272] amd-xgbe 0000:ea:00.2 lan1: Link is Up - 10Gbps/Full - flow control off- This is from a FS6812X with two 10GbE ports; on the FS6806X which has only one port, you'll see some errors related to the MAC address, ignore them as they only pertain to the "disabled" NIC that is still present on the board
- You should see the "Link is Up" message here; note that it took about 100 seconds to come up on this boot, not sure why that was the case, most times it's quick though
- If you don't see the "Link is Up" message, make sure that the
dhclient(DHCP request) process has started on that interface, or give it a static IP address manually; the link will not be shown as "up" otherwise! - Note that the NIC port link/activity LEDs will not light up even when it's working, so do not rely on those for indication that you have a link! Look at your switch instead
- Confirm network link speed:
# ethtool enpXXX (whatever name it chose on your machine; you can make this human-readable by editing the files under /etc/system/network)- Check for:
Speed: 10000Mb/sandDuplex: Fullin the output - If these show up as
Unknown!instead, something went wrong; try un-plugging and re-plugging the Ethernet cable, giving it a few minutes, power cycling, etc. — sometimes it takes some convincing
- Test performance:
- I was able to achieve a sustained rate around 9.85 Gbps with a couple of different hosts on my network (using MTU 9000 or "jumbo frames"); YMMV of course, depending on your own conditions and equipment
(remote) $ iperf3 -c 10.0.0.2 --bidir -t60
$ iperf3 -s
----------------------------------------------------------
Server listening on 5201 (test #4)
-----------------------------------------------------------
Accepted connection from , port 35264
[  5] local 10.0.0.2 port 5201 connected to 10.0.0.1 port 35268
[  8] local 10.0.0.2 port 5201 connected to 10.0.0.1 port 35280
[ ID][Role] Interval           Transfer     Bitrate         Retr  Cwnd
[  5][RX-S]   0.00-1.00   sec  1.14 GBytes  9.83 Gbits/sec
[  8][TX-S]   0.00-1.00   sec  1.15 GBytes  9.89 Gbits/sec    0   2.01 MBytes
[  5][RX-S]   1.00-2.00   sec  1.15 GBytes  9.84 Gbits/sec

(...)

[  8][TX-S]  58.00-59.00  sec  1.15 GBytes  9.86 Gbits/sec    0   1.66 MBytes
[  5][RX-S]  59.00-60.00  sec  1.15 GBytes  9.84 Gbits/sec
[  8][TX-S]  59.00-60.00  sec  1.15 GBytes  9.88 Gbits/sec    0   1.78 MBytes
[  5][RX-S]  60.00-60.00  sec  2.19 MBytes  9.81 Gbits/sec
[  8][TX-S]  60.00-60.00  sec  2.50 MBytes  11.3 Gbits/sec    0   1.78 MBytes
- - - - - - - - - - - - - - - - - - - - - - - - -
[ ID][Role] Interval           Transfer     Bitrate         Retr
[  5][RX-S]   0.00-60.00  sec  68.7 GBytes  9.83 Gbits/sec                  receiver
[  8][TX-S]   0.00-60.00  sec  68.9 GBytes  9.86 Gbits/sec  2132             sender
-----------------------------------------------------------
- If everything is working to your satisfaction, you can "pin" this kernel to be always the one GRUB boots into, even if you'll have other ones installed later on by updates:
- Edit
/etc/default/gruband setGRUB_DEFAULT=saved - Find out your desired menu entry:
# grep gnulinux /boot/grub/grub.cfg
menuentry 'Debian GNU/Linux' --class debian --class gnu-linux --class gnu --class os $menuentry_id_option 'gnulinux-simple-c27ec869-ac05-4efd-bdfa-c7b83e176149' {
submenu 'Advanced options for Debian GNU/Linux' $menuentry_id_option 'gnulinux-advanced-c27ec869-ac05-4efd-bdfa-c7b83e176149' {
        menuentry 'Debian GNU/Linux, with Linux 6.1.0-28-amd64' --class debian --class gnu-linux --class gnu --class os $menuentry_id_option 'gnulinux-6.1.0-28-amd64-advanced-c27ec869-ac05-4efd-bdfa-c7b83e176149' {
        menuentry 'Debian GNU/Linux, with Linux 6.1.0-28-amd64 (recovery mode)' --class debian --class gnu-linux --class gnu --class os $menuentry_id_option 'gnulinux-6.1.0-28-amd64-recovery-c27ec869-ac05-4efd-bdfa-c7b83e176149' {
- Run
grub-set-defaultwith the full path to the kernel you want to boot; in the example above, let's say we want to select the "Debian GNU/Linux, with Linux 6.1.0-28-amd64" option, we would then use:# grub-set-default "gnulinux-advanced-c27ec869-ac05-4efd-bdfa-c7b83e176149>gnulinux-6.1.0-28-amd64-advanced-c27ec869-ac05-4efd-bdfa-c7b83e176149"- Note that you need both the "submenu" item as well as the "menuentry", separated by ">"
- Confirm that the entry has been written correctly:
# cat /boot/grub/grubenv
# GRUB Environment Block
saved_entry=gnulinux-advanced-c27ec869-ac05-4efd-bdfa-c7b83e176149>gnulinux-6.1.0-28-amd64-advanced-c27ec869-ac05-4efd-bdfa-c7b83e176149
- Update GRUB to take the changes into account:
# update-grub
- From this point onwards, your NAS should always boot with the custom kernel, ensuring the NIC works, no matter what updates are installed later on by new kernel packages. Of course, if you want to update the kernel at any point, you'll need to do the change manually to get GRUB to take that into account.
- Edit
I have tested these steps on my own devices and confirm that they are valid and working as of December 2024; of course, things can change without notice and some of the packages linked here may stop working.
If you encounter errors or problems following these instructions, please add a comment below and I'll do my best to answer and update the text if needed, but please understand that I can't promise anything, as I have no control over the Asustor devices or the AMD driver packages.
The Binaries
For testing purposes only, I provide here the resulting .deb packages compiled on my machine, so you can try them as well:
- Kernel Image (includes modules, etc.):
- Kernel Headers:
- LibC (assist with compiling modules):
- linux-libc-dev_6.6.43asustor-2_amd64.deb [1.3 MiB]
This is all provided for TESTING only, with NO WARRANTY either express or implied! I cannot provide any support in case of problems and can take NO RESPONSIBILITY for any problems or data loss. The kernel is a critical component of your operating system, DO NOT TRUST binaries downloaded from the Internet, it's better to compile your own following the instructions above!


Comments