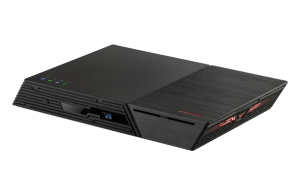
Asustor Flashstor FS6812x/FS6806x — Experimental TrueNAS Support for AMD XGBE
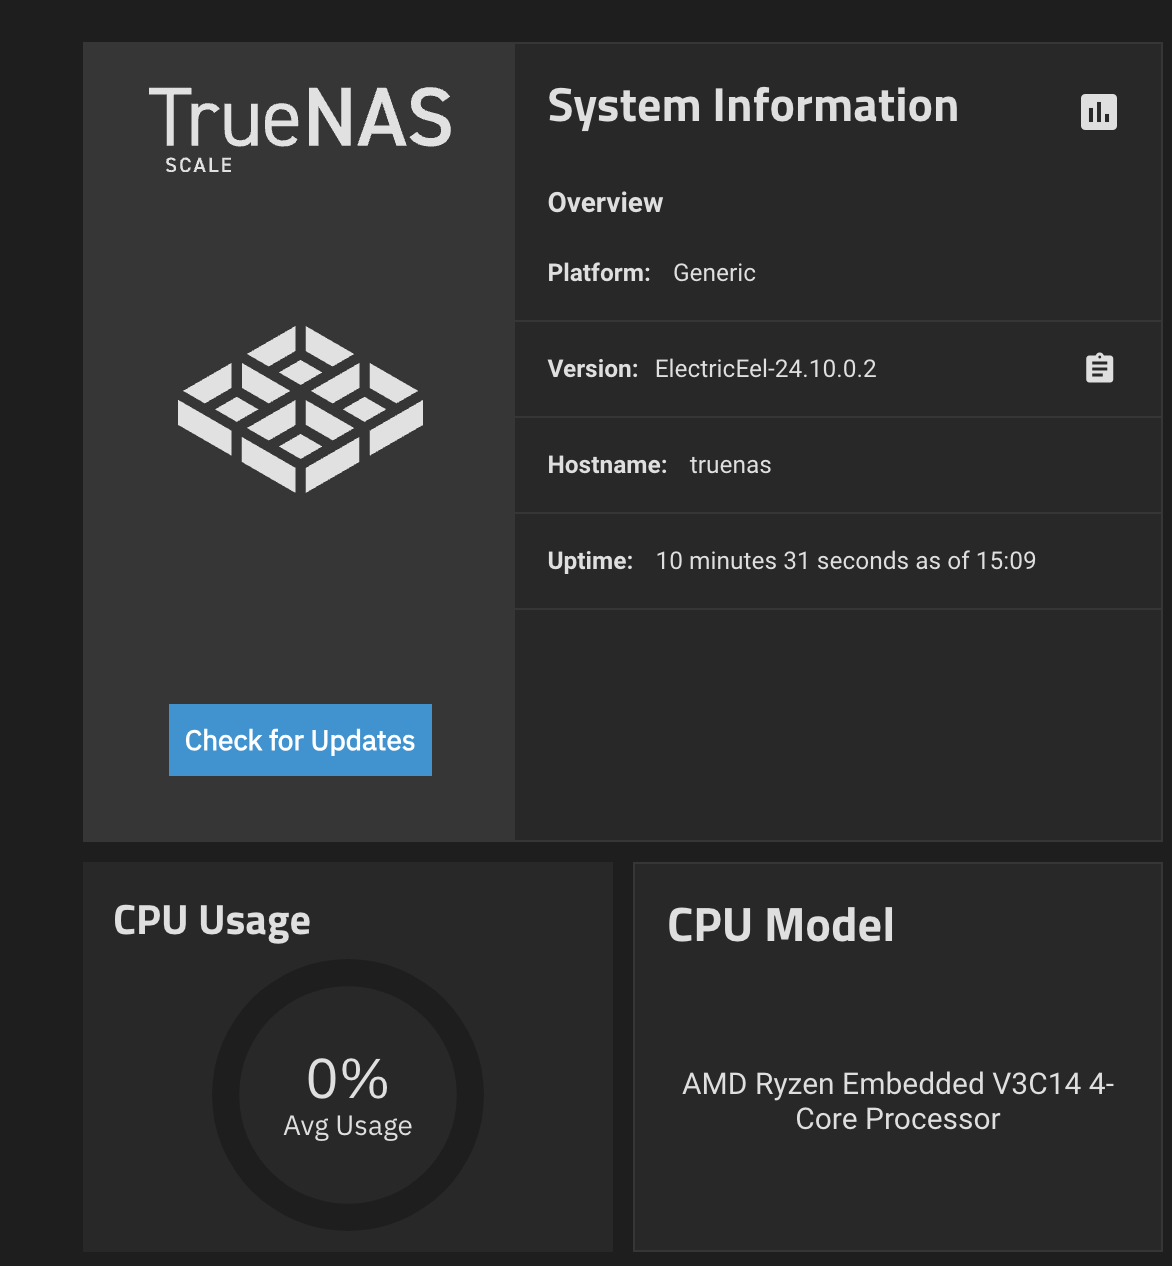
After the success of getting Debian to work with the custom AMD patched module, I tried to see if I could get TrueNAS working as well — and yes, it works great using the same process. In the end, all you need to change on your TrueNAS installation is a single file: the amd-xgbe module itself, following by an update of the initramfs. This can all be done on the same device or, to keep in the spirit of TrueNAS as an appliance, on a separate machine or inside a TrueNAS VM.
Warning: While less complex than full kernel compilation and replacement, messing with the default kernel modules can render your device inoperable and failing to come online. Only proceed if you know what you're doing and are willing to debug and fix problems as they appear. I will not be responsible for any harm coming to your device, bricking it or loss of data!
Here are the steps to get it going:
Note: You can also do all this on a TrueNAS VM, as per Sam's great suggestion in the comments (similar to the Debian compilation described in earlier versions); this would allow you to keep the "production" machine free of development tools and just copy one file over — the amd-xgbe.ko
- Connect to the Flashstor running TrueNAS, either via a USB NIC or directly on the console
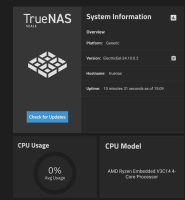
- I used the latest stable TrueNAS SCALE version at the time of publication, which was ElectricEel-24.10.0.2
- Download and copy the patched module source:
$ cd
$ wget https://mihnea.net/truenas-amd-xgbe-asustor-6.6.44.tar.bz2
$ tar xvf truenas-amd-xgbe-asustor-6.6.44.tar.bz2
- Install build and development tools — WARNING: from this point forward, the configuration will become unsupported —
$ sudo install-dev-tools
- Compile the module:
$ cd truenas-amd-xgbe-asustor-6.6.44
$ make
- Install the module:
$ sudo make install
- Update initramfs for the current running kernel:
- This requires making the root partition temporarily writable
$ sudo mount -o remount,rw 'boot-pool/ROOT/24.10.0.2/'
$ sudo update-initramfs -u -k `uname -r`
$ sudo mount -o remount,ro 'boot-pool/ROOT/24.10.0.2/'
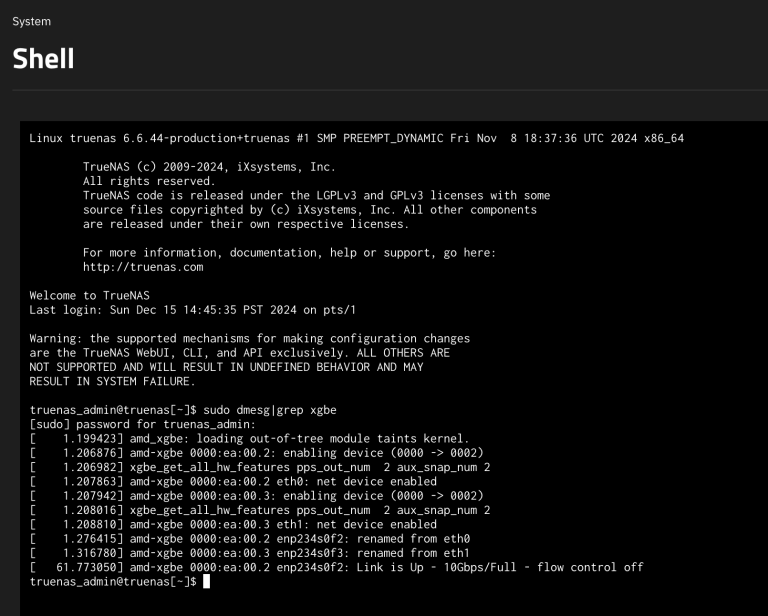
- Reboot and check that everything is working
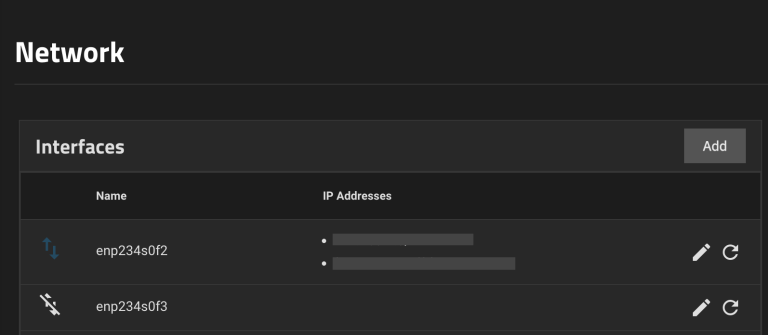
- Note: If you've used a separate NIC to configure things so far, the AMD NIC will not be enabled properly by TrueNAS, because it only gets a link when using DHCP or having an IP assigned statically, and TrueNAS insists on only having DHCP on one NIC at a time. To solve this:
- First, move the Ethernet cable to the AMD NIC
- Second, go to the local TrueNAS console, open a shell and run
dhclient enpXXXto start DHCP discovery on the AMD NIC - Once an IP is assigned, give it a few minutes for the TrueNAS scripts to restart the WebUI on the new IP
- Go into the Network settings and move over the DHCP checkbox to the AMD NIC, test then save (this will cause a temporary disconnection, should be ok after that)
- You can also assign static IPs to each interface to force them to come up without DHCP
- Note: If you've used a separate NIC to configure things so far, the AMD NIC will not be enabled properly by TrueNAS, because it only gets a link when using DHCP or having an IP assigned statically, and TrueNAS insists on only having DHCP on one NIC at a time. To solve this:
- Making it permanent
- Unfortunately, permanency is not possible on TrueNAS because DKMS is not supported, and the kernel and system in general are overwritten on every update; this means the above process will have to be repeated every time the kernel changes
- If the kernel remains the same major and middle version (6.6.x in this case), it is possible to just keep a copy of the compiled
amd-xgbe.komodule file, simply copying it over the default one in/lib/modules/<kernel-version>, then updating theinitramfs; unfortunately, this will be unpleasant to do if the device loses its network connection and will require connecting a separate USB NIC or accessing the console via the GPU workaround
I was able to confirm that this brings up the Flashstor with TrueNAS and the network working, remaining stable through a few reboots. However, it's clearly an unsupported configuration, and you will not be able to receive official support due to the custom kernel module being loaded.
Perhaps the most annoying aspect will be the need to re-copy or re-compile the patched module after every update. Ideally, the AMD patches for the XGBE NIC should be part of the upstream kernel, and then TrueNAS would "just work" as soon as it delivered an updated kernel. The developers were asked to add these patches as part of a bug/feature request, but it was denied for reasonable reasons.
The above instructions are meant to be easy to follow and include an already patched amd-xgbe kernel module. But if you'd rather create that from scratch, or potentially update it in the future with different kernel versions and AMD Linux Driver packages, you can find the kernel module patching details below.
TrueNAS Support for AMD XGMAC 10GbE NICs — Kernel Module Patching — HOWTO
I. Preparations
- Download the AMD Drivers (you'll need to use a full browser, as they very unhelpfully block
wget/curland force you to actually browse there):- I got:
https://drivers.amd.com/drivers/embedded/AMD_Ubuntu-24.04_Kernel_6.6.43_2024_30_GA_15.tar.bz2as this uses an almost identical kernel version to the 6.6.44 one from TrueNAS SCALE ElectricEel-24.10.0.2
- I got:
- Copy the AMD package to the Flashstor — easiest is to
scpit from your local machine - Connect to TrueNAS on the Flashstor, either via a USB NIC or the local console
II. On the Flashstor NAS
- Install build and development tools — WARNING: from this point forward, the configuration will become unsupported —
$ sudo install-dev-tools $ sudo apt install flex bison- This should also take care of making the relevant partitions writable
- Download the TrueNAS kernel source:
# git clone https://github.com/truenas/linux.git
- Switch to the correct release within the GIT tree — in our case, 24.10.0.2:
# cd linux
# git checkout release/24.10.0.2
- Unpack the AMD driver package and extract just the relevant patches:
$ tar xvf <path>AMD_Ubuntu-24.04_Kernel_6.6.43_2024_30_GA_15.tar.bz2 $ tar xvf AMD_Ubuntu-24.04_Kernel_6.6.43_2024_30_GA_15/patches/kernel/linux-kernel-patches.tar.bz2 $ grep -l "amd/xgbe" AMD_Ubuntu-24.04_Kernel_6.6.43_2024_30_GA_15//patches/kernel/*- This should find 24 patch files for our module in the 24.04 package, names and paths will of course vary depending on the AMD package being used
- Apply the patches:
$ cd linux $ for i in `grep -l "amd/xgbe" ../AMD_Ubuntu-24.04_Kernel_6.6.43_2024_30_GA_15//patches/kernel/*`; do patch -p1 < $i; done- There should be no errors, everything should apply cleanly as it's basically the same kernel version
- Prepare the kernel:
- Note that we'll do the minimum necessary to be able to compile our module, without going through the full process
$ cp /usr/src/linux-headers-`uname -r`/Module.symvers .
$ cp /usr/src/linux-headers-`uname -r`/.config .
$ make oldconfig
<press Enter on any questions>
- Re-compile the module
$ make -C /lib/modules/`uname -r`/build M=$(pwd)/drivers/net/ethernet/amd/xgbe modules
- Install the new module, overwriting the existing one:
- IMPORTANT: Overwriting is necessary, otherwise the old module may take precedence; we need to ensure it's completely gone
$ sudo cp drivers/net/ethernet/amd/xgbe/amd-xgbe.ko /lib/modules/`uname -r`/kernel/drivers/net/ethernet/amd/xgbe/amd-xgbe.ko
$ sudo depmod -a
- Update
initramfsfor the running kernel:- This requires making the root partition temporarily writable
$ sudo mount -o remount,rw 'boot-pool/ROOT/24.10.0.2/'
$ sudo update-initramfs -u -k `uname -r`
$ sudo mount -o remount,ro 'boot-pool/ROOT/24.10.0.2/'
- Reboot
If you would like or have the need to compile and use a completely custom kernel, as was described in my initial post, you may find those instructions here — but be warned, that is a far more experimental and un-supported setup!




Comments